
This section allows you to
- View a list of all users
- Search for a user
- Edit a user’s details role
- Reset user’s password
- Deactivate a user
- Add a new user
- Copy or reassign user’s matters and events to another user
User Overview
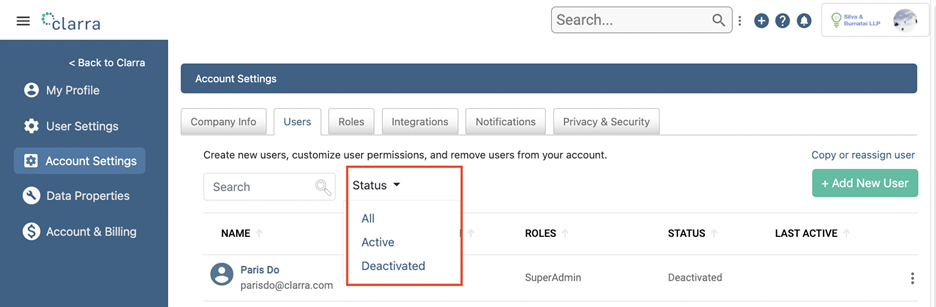
The default view of the Users page is to display a list of all users with Active status. It displays the users’:
- First and last name
- Username
- Role
- Status
- Date and time last active
To include the Deactivated users in this list, select “All” from the Status rop-down menu, or if you want to display only users with Deactivated status, select “Deactivated”.
To sort the user list, click on the column name by which you want to sort.
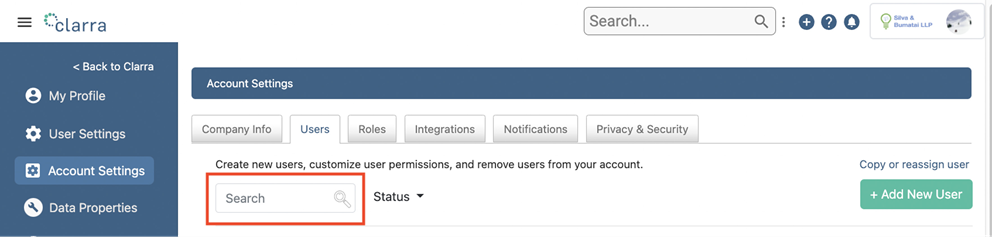
To quickly find a user, use the Search field in the top left of the users table and enter the user’s first name, last name, or username.
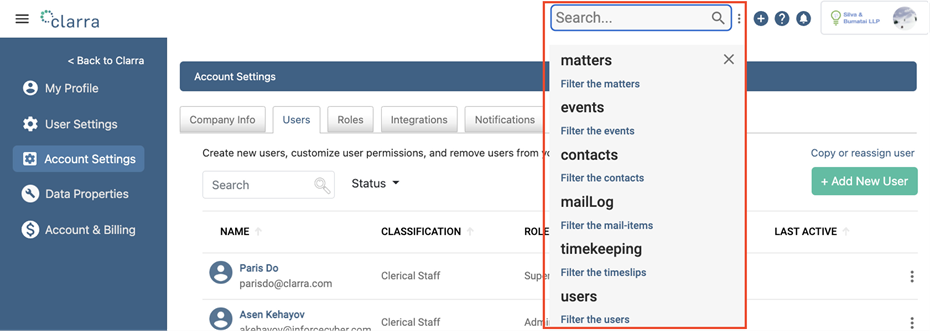
Another way to find a user is to use the Boolean operator in the main search located in the top right of the page. To build your search query, just click in the Search field and make your selection from the suggested prompts.
Follow these steps to search the Users section using the Boolean operator of the main search function:
- Click in the Search field located in the very top of the page
- Select “users” from the drop-down menu that appears
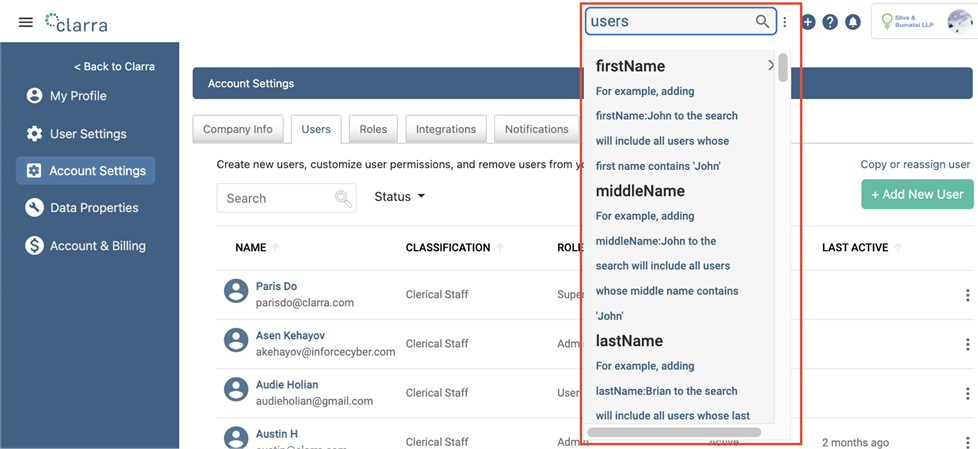
- Select the parameter by which you want to search, for example “first Name”
- Type the keyword you want to search for, for example “John”. Your search query in the search field should look something like this: “users first Name: John”
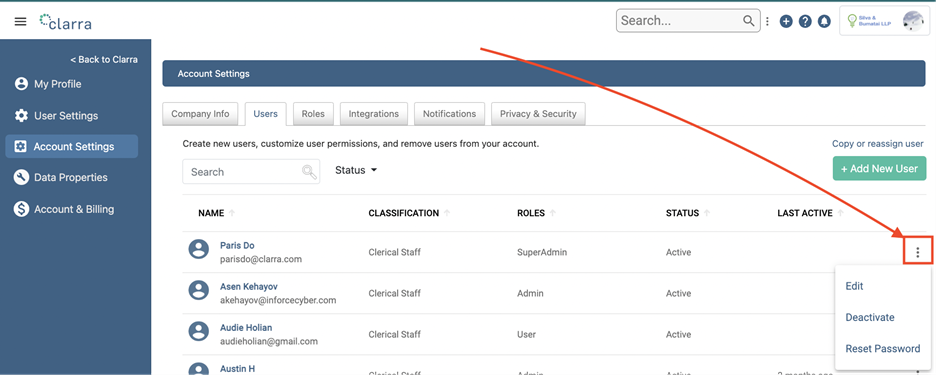
To quickly deactivate a user, reset a user's password, or edit a user, click on the three dots on the far right.
Adding new users
To add a new user, click on the green + Add New User button.
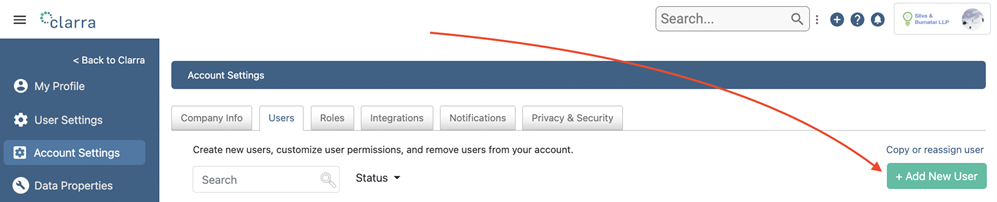
This will open the User Information page.
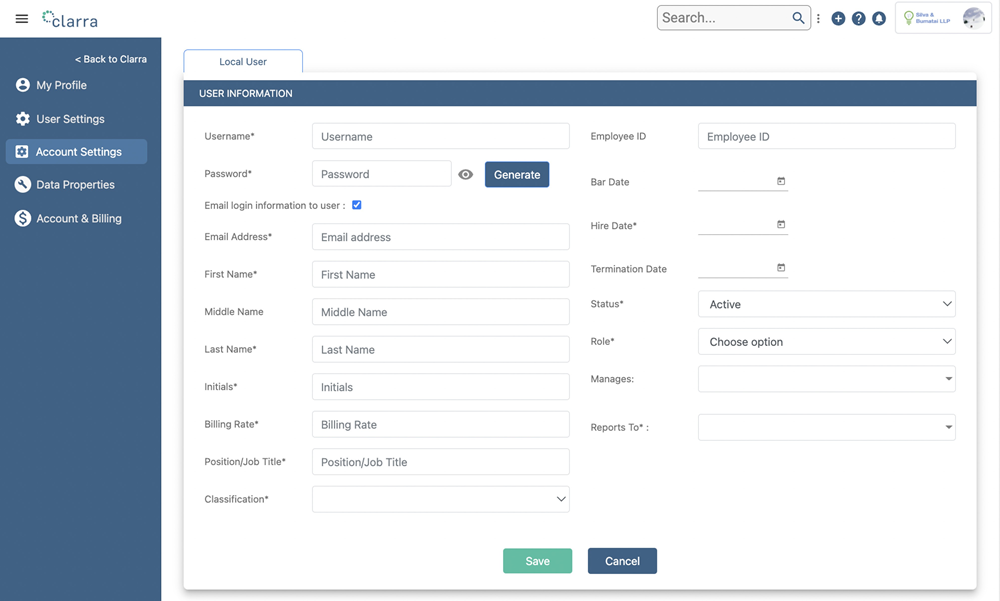
Username - typically, the username is the user’s email address. If your organization has Google or Microsoft authentication integration enabled, this should be the email address of the Google or Microsoft account that the user will be authenticating with.
Password - only required for local user accounts. The password must be at least 8 characters and contain one upper case character, one lower case character, one number, and at least one non- alphanumeric character. If your organization has Google or Microsoft authentication integration enabled, the password field will not be displayed because the user will be authenticating using their Google or Microsoft password.
Email login information to user - check this box if you would like the application to send an email to the user with their login information.
Email Address - the user’s email address for notifications and app-related communication.
First Name - user’s first name
Middle Name - user’s middle name (optional)
Last Name - user’s last name
Initials - the initials of each user must be unique. Initials are used throughout the application instead of full names for simplicity and to save space in tables and reports.
Billing Rate - this is the rate that you will bill your customer for this user’s work.
Position/Job Title - the position or title of the user.
Classification - this user classification is only for the purposes of reporting the time billed by each group in certain timekeeping reports. The data labels for Classification are customizable in the Data Properties section. Standard classification out-of-the-box are:
- Lead Attorney
- Other Attorney
- Paralegal/Law Clerk
- Clerical Staff
Employee ID - your organization’s employee ID number. This could be the user’s Social Security Number or any other unique number that your company uses for employee or user identification. Must be unique.
Bar Date - this is the bar passage date for attorneys. Does not apply to non-attorneys.
Hire Date - user’s hire date.
Termination Date - user’s termination date, if any. Can be a future date.
Status - Active status indicates that the user is currently an active user at the organization and has access to the application. Deactivated status indicates that the user does not have access to the application.
Role - assign a role to the user. See the section on Roles for detailed information about each standard role and how to create custom roles.
Manages - list here any users that this user manages, if any.
Reports To - list any users that this user reports to.
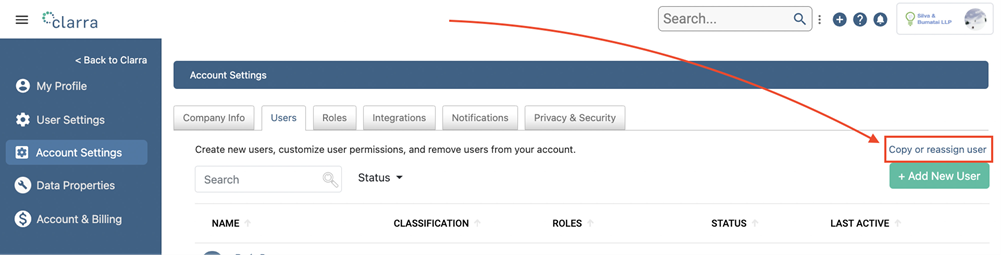
Copy or Reassign User
This feature allows you to copy the assignments of matters and events from one user to another or bulk reassign matters and events from one user to another. The process involves two phases. In the first phase, the selected matters and events assigned to user A will be copied to user B. If you want to reassign the selected matters and events from user A to user B, in the second phase you can remove user A from these events and matters.
Step by step instructions for copying or reassigning matters and events from one user to another.
Step 1: From the Users tab, click on Copy or reassign user, located above the +Add New User button
Step 2: Select the user to copy, select the new user, and specify the effective date for the addition or replacement of the new user to the events and matters. You will select the events and matters in the subsequent steps.
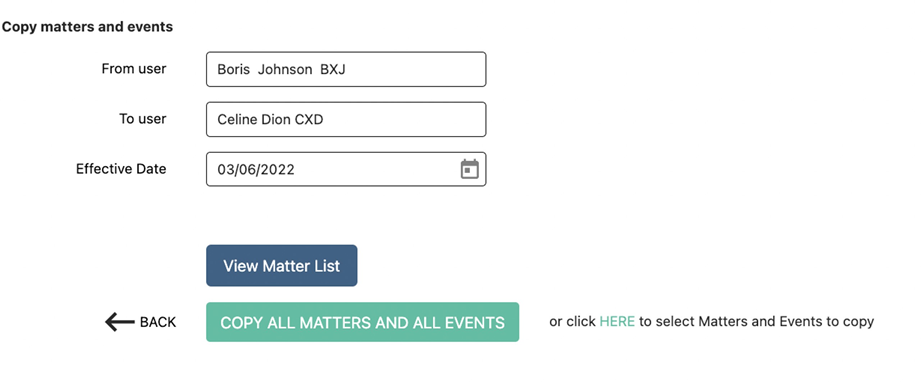
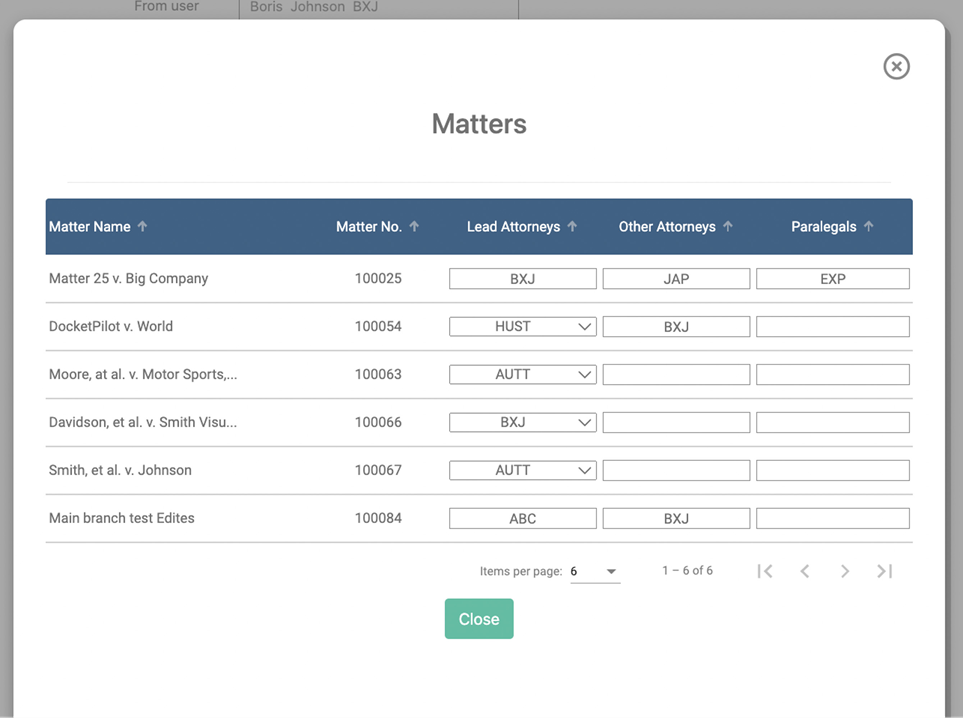
Step3: Click “View Matters List” to review all the matters that user A is currently assigned to.
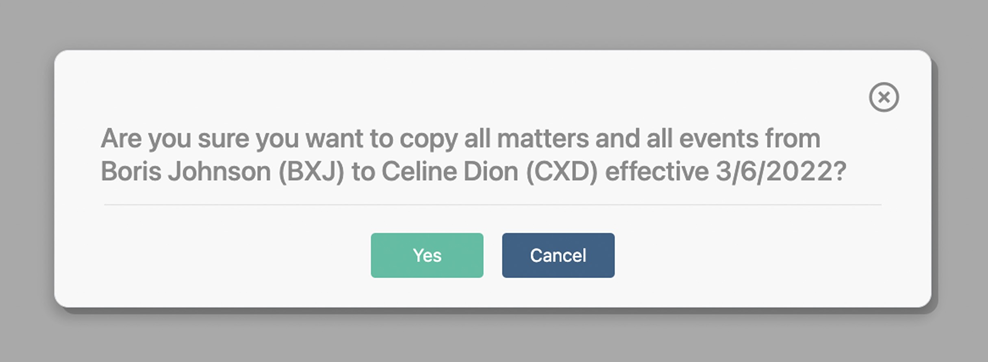
Step 4: If this list looks good and you want all of these matters and all of the events associated with these matters copied from user A to user B, select the green button “COPY ALL MATTERS AND ALL EVENTS”. You will be asked to confirm that you want all matters and all events assigned to user A copied to user B. Selecting Yes will assign user B to all matters and all events that user A is assigned to.
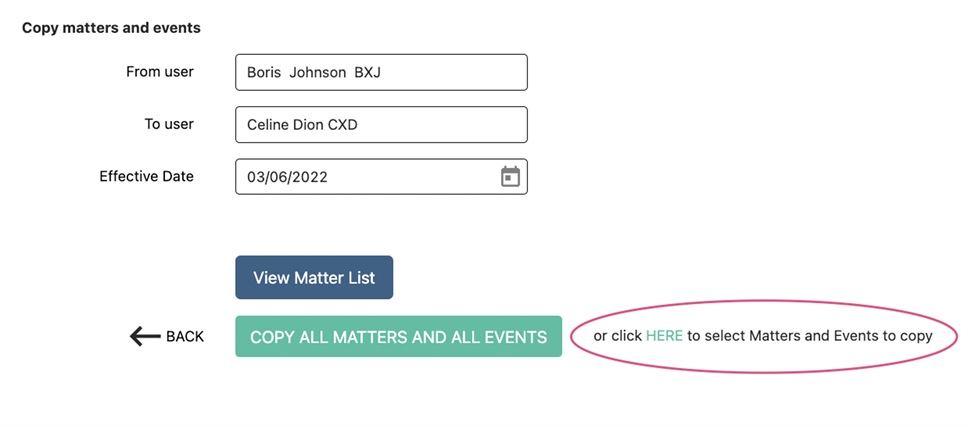
Step 5: If you would like to select only certain matters and review the events that user A is assigned to before copying all to user B, select “click HERE to select Matters and Events to copy.”
Step 6: Select the matters to which you want to assign user B by clicking the checkbox by each matter and press the green button COPY SELECTED MATTERS.
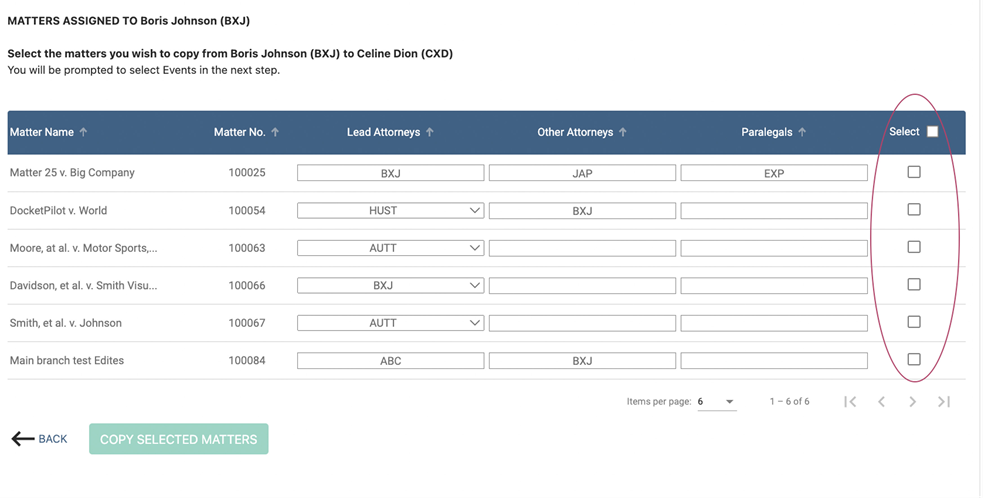
You will receive a confirmation that the selected matters have been copied from user A to user B.
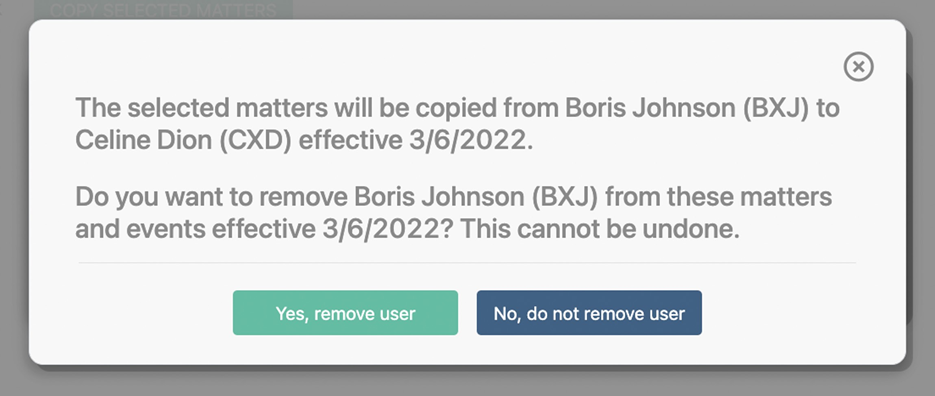
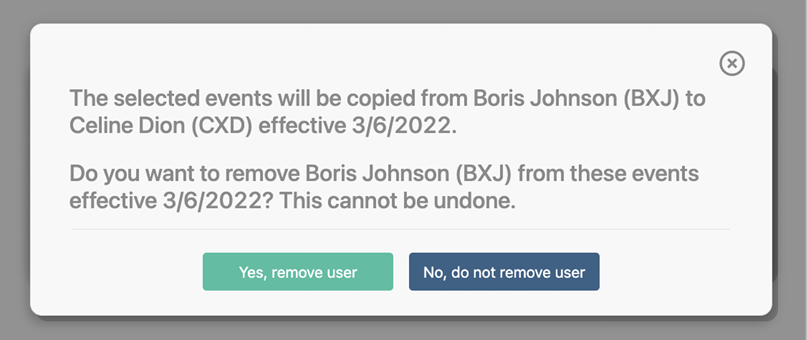
Step 7: At this stage, you have to indicate whether user A should be removed from all events and matters that were just copied to user B, or remain assigned to them.
Select “Yes, remove user” if you want user A removed from all events and matters that were just copied to user B.
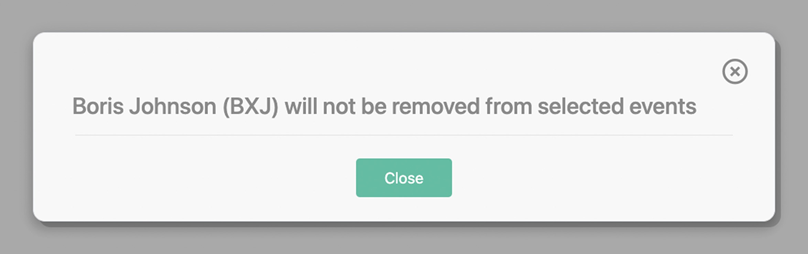
Select “No, do not remove user” if you want user A to remain assigned to those events and matters.
You will receive a confirmation of the action that was taken.
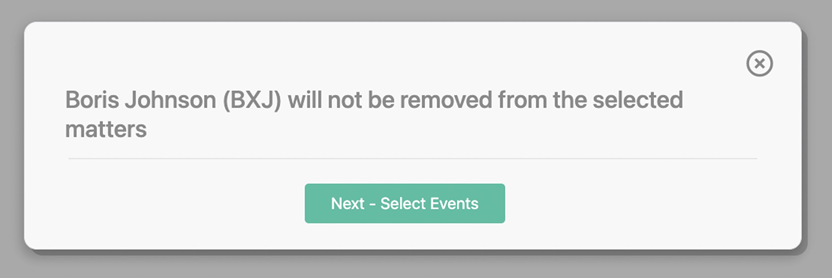
Step 8: Next - select events
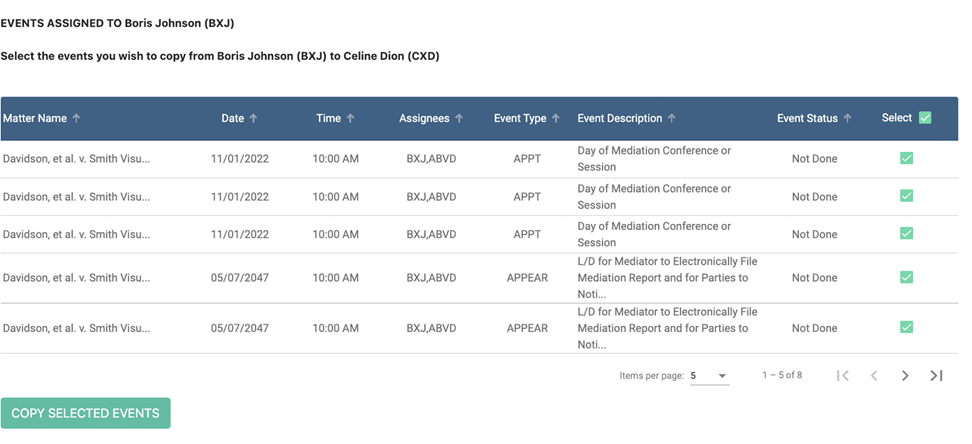
 |