
There are three standard roles that are defined in Clarra - Standard User, Admin, and Super Admin. You can also create a custom role with a custom set of permissions.
To access the Roles section of the application, follow these steps:
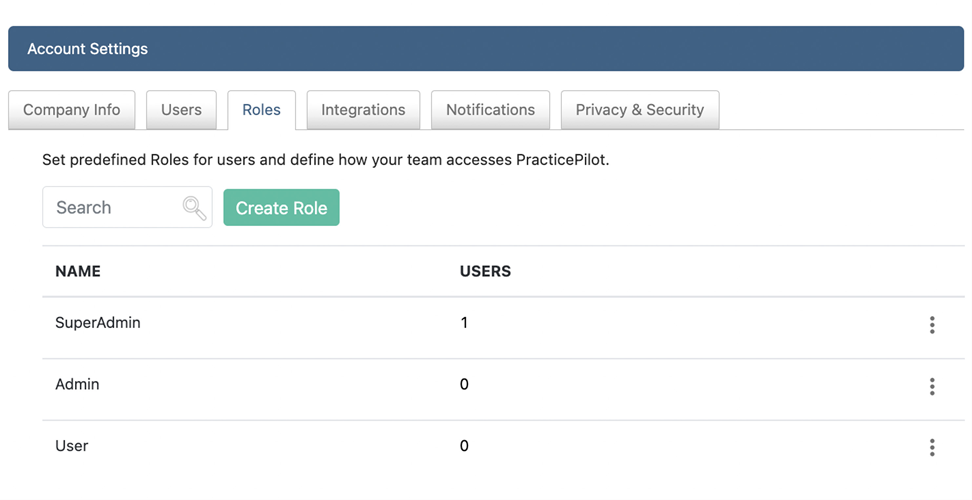
- From the Profile icon in the top right corner of any page, select Account Settings.
- Click on Roles tab.
The table below shows the permissions associated with each Standard Role.
|
User Role |
||
Permissions |
Regular User |
Admin User |
Super Admin |
Add or edit Contacts |
|
|
|
Add or edit Appointments for any user |
|
|
|
Add or edit Deadlines for any user |
|
|
|
Add or edit Mail Items for any user |
|
|
|
Add or edit Timekeeping items for any user |
|
|
|
Edit matter’s details |
|
|
|
Add or remove linked contacts to a matter |
|
|
|
Add or remove linked matters |
|
|
|
Access to events reports |
|
|
|
Access to mail reports |
|
|
|
Access to Accounting Report |
|
|
|
Customize matters data properties |
|
|
|
Customize events data properties |
|
|
|
Customize contacts data properties |
|
|
|
Customize mail log data properties |
|
|
|
Customize timekeeping data properties |
|
|
|
Customize users data properties |
|
|
|
Customize Projects |
|
|
|
Access to Billing Reports |
|
|
|
Access to Docketing Report |
|
|
|
View other user’s Timekeeping entries in the Timekeeping section (can still view other user’s timekeeping entries in the Matters/Timekeeping tab) |
|
|
|
Open or close matters |
|
|
|
User administration - add, edit, deactivate users |
|
|
|
Manage permissions for users |
|
|
|
Copy or reassign user across the platform |
|
|
|
Delete files |
|
|
|
Manage Account & Billing section |
|
|
|
You can edit any of the standard roles to add or remove permissions, or create a new custom role.
To create a new role:
- Click on the Create Role button
- Select the permissions you want to grant to the new role
- Enter the name of the new role
- Hit Save
To edit an existing role:
- Click on the three dots to the right of the role you want to edit
- Select Edit
- Select the additional permissions you want to grant to this role. Note that you can only add permissions to a standard role. If you want to have a role with less permissions than the Standard User role, you need to create a new role, see steps above.
Once your roles have been defined, you can assign them to a user from the user tab.